
Behind the FrameSeptember 17, 2026
How to Read a Tide Chart Before a Beach Photo Shoot
How to read a tide chart before a beach photo shoot: the three numbers that decide whether your pier, reef, or pocket-beach frame will exist.
Coastal Beauties Editorial
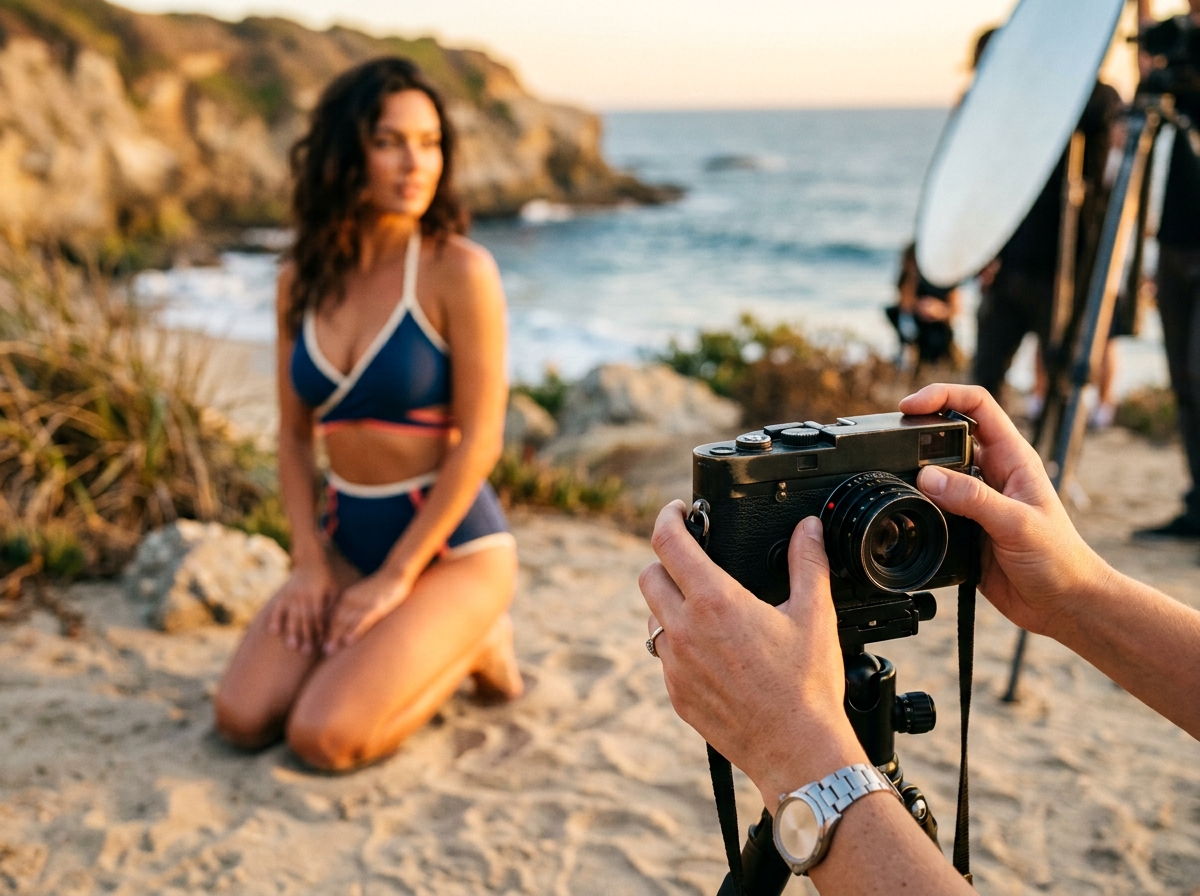
Learning how to read a tide chart before a beach photo shoot comes down to three numbers: the time of the low or high tide you care about, its height, and which way the water is moving when your light peaks. Get those three right and the tide chart tells you whether the sand under a pier will exist, whether a rock ledge is a platform or a hazard, and whether a pocket beach will be wide enough to work at all. Here's how to read one the way a working coastal crew does.
What a tide chart actually shows you
A tide chart is a forecast of water height over time for one specific station. The curve rises and falls; the labeled peaks are high tides and the labeled troughs are low tides, each with a time and a height in feet.
The heights are measured from a zero line called Mean Lower Low Water, or MLLW. NOAA defines it as the average of the lower low water height of each tidal day, and it is the reference datum for its tide predictions. So a reading of 0.0 ft is an ordinary low tide, not "no water." A positive number is water above that average low. A negative number — a minus tide — means the ocean is pulling back further than usual, and that's when hidden sand, reef, and tide pools show up.
Why Southern California has two unequal tides a day
If you learned tides on the East Coast, the SoCal curve looks strange. NOAA notes that the U.S. West Coast tends to have mixed semidiurnal tides: two high tides and two low tides each lunar day, of different sizes. In practice that means every day on this coast has a higher high, a lower high, a higher low, and a lower low.
That matters for a shoot. A day can show a "low tide" at sunset that is barely lower than the high before it. Never plan around the word "low" — plan around the number. A low of 2.5 ft and a low of -0.5 ft are two completely different beaches.
The three numbers to pull before any beach shoot
The tide time closest to your light. Start with your golden hour or blue hour window, then find the nearest high or low on the chart. That's the tide you'll actually be shooting in, whatever happened at noon.
The height at that moment. Read the curve, not just the labeled peaks. If sunset falls halfway between a 4 ft high and a 1 ft low, you're working somewhere around the middle, and the curve shows you roughly where.
The direction. Is the water coming in or going out during your window? A falling tide gives you more beach every minute — a comfortable place to start. A rising tide takes beach away, so the frame you set up at the waterline won't be there forty minutes later, and your gear bag shouldn't be either.
Matching tide to the frame you want
Different shots want different water. A working rule of thumb:
Under-pier and through-the-pilings frames want low water, so you can stand where the sea usually is. This is why the classic Scripps Pier shot in our La Jolla shoot guide comes with a "check the tide first" warning.
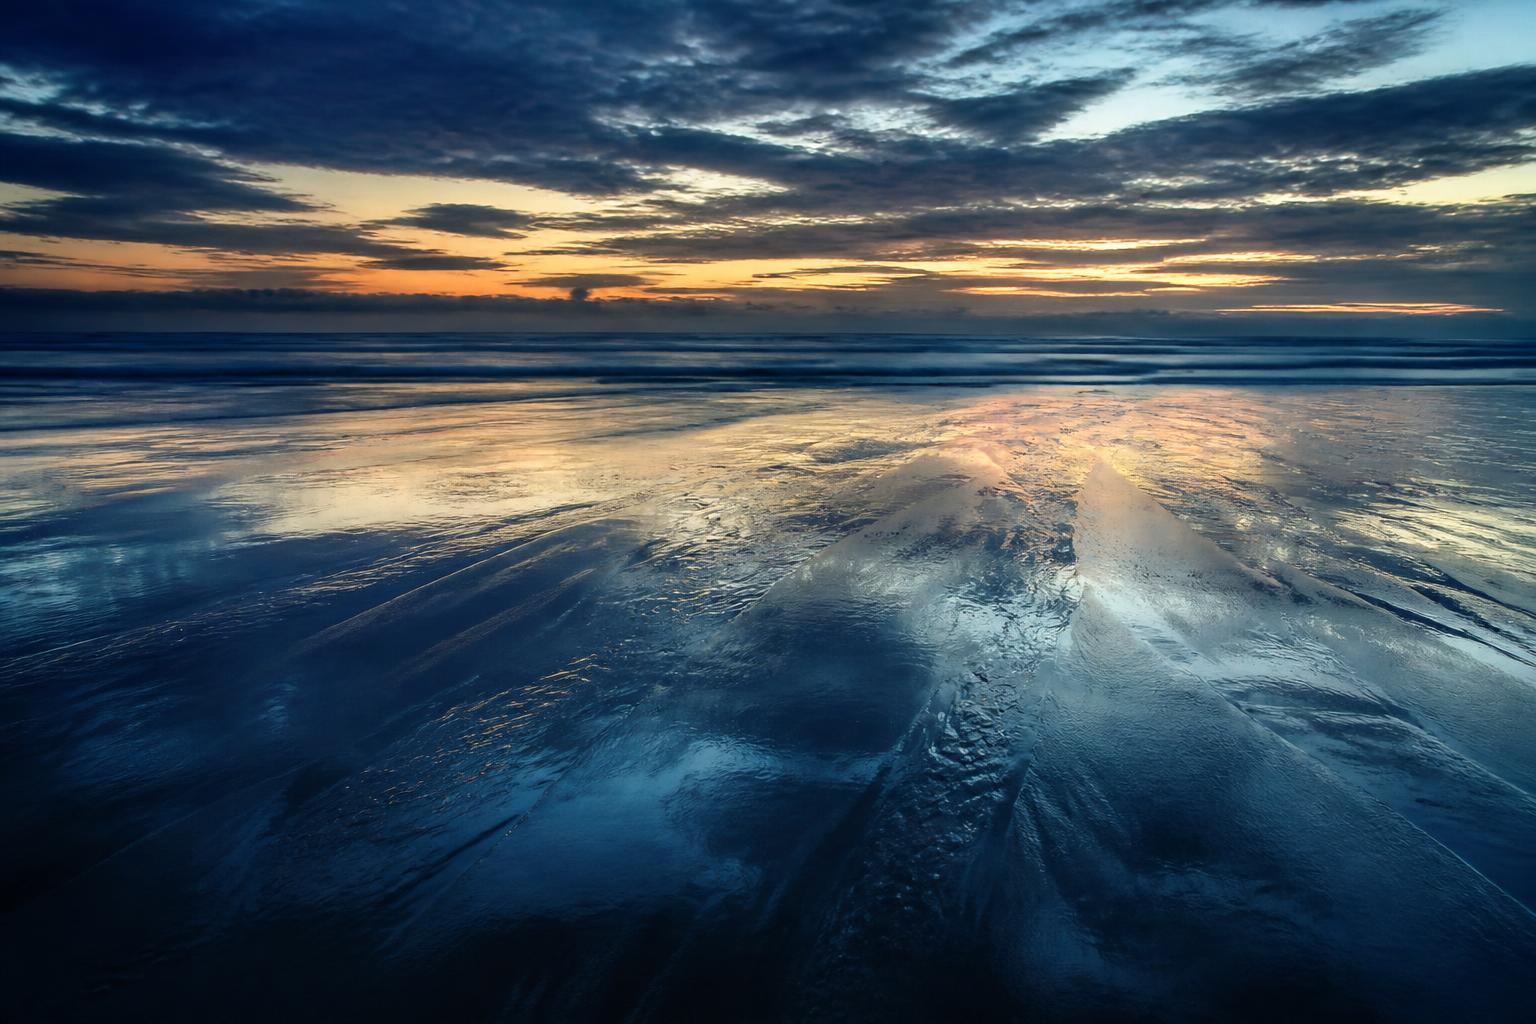
Mirror reflections on wet sand want a falling tide on a flat beach. Each receding wave leaves a thin sheet of water that holds the sky.
Tide pools and exposed reef texture want minus tides. Without a negative number on the chart, those details stay underwater.
Crashing-water drama on rocks is usually a higher-tide frame — and it's the one where you shoot from well back with a longer lens, not from the ledge.
Small pocket beaches want mid-to-low water. At high tide, some of them simply aren't there.
Pick the right station and settings
Tides vary along the coast, so read the station nearest your spot. NOAA's Tides & Currents site publishes free predictions by station — for example, La Jolla (station 9410230) is the natural reference for a La Jolla shoot. On the predictions page you can set the date range, time zone, units, and datum, and view the results as a chart or a table.
Two settings to double-check every time: the time zone should read local time for the shoot date, and the datum should be MLLW so the numbers match what you've learned above. Whatever app or site you use, make sure the station is the one closest to where you'll actually stand.

Seasons change the math
On this coast, the most dramatic tidal swings tend to arrive in winter. That's when California's king tides show up — the most extreme high tides of the year, which usually bring very low lows with them. The California Coastal Commission's King Tides Project invites people to photograph the shoreline during those events to record what higher water looks like on our coast, so if you're shooting anyway, your frames can do double duty. Check the project's page each season for the dates rather than relying on last year's.
A five-minute tide check before you leave
First, open the predictions for the nearest station, set to local time and MLLW.
Second, mark your light window on the chart.
Third, note the height and direction of the water during that window.
Fourth, match it to the frame you want — and pick a backup frame for the tide you'll actually get.
Finally, check surf conditions and any posted access rules the same day. Tide is only one part of the ocean's mood.
This is the unglamorous planning that makes a coastal image look effortless. For the rest of the pre-shoot walkthrough — shot lists, packing, and running a good set — read how a coastal shoot actually comes together.
Want more behind-the-frame craft from the Southern California coast? Join the list below and new guides land in your inbox first.